This is not complete.
Apparently, I must waste my time writing these, when the base of SW stack systems use Linux OS. If you ever come aross across an issue where you can't work backwords backwards with your Linux OS, then you can easily re-install Linux OS (this example is Ubuntu 20.04) to start over. You shouldn't get pissy at me for sounding any bit condescending, thereThere's workarounds and complexity in getting Linux OS setup as well prior to whatever SW you data scientists use for your work.
A hard truth if you fall under this category of 'accepting Linux OS updates blindly': You should might've have messed up your Docker Container, not your base OS that hosts Docker Containers.
If you're going to argue that accepting 'updates' blindly is normal, then I suggest to read an argument agasint that hereA good safety precaution is to never accept updates blindly. To read more refer to: Do I need to update my Ubuntu or CentOS?
If you DO want to routinely and safely update your Linux OS, or even update SW, then we (well, EVERYONE) suggestsstrongly suggest:
- Back, up, your, data
- Back, up, your kernel/config/packages
- Then make any OS/SW changes you believe is necessary for your work.
On another computer
Step 1 - Get Ubuntu Server LTS
...
https://releases.ubuntu.com/20.04/

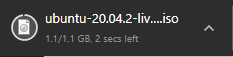
1.1 GB, very smol. Your typical Windows 10 ISO is ~5GB.
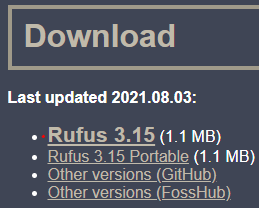
Step 2 - Download Rufus, a tool to make your USB bootable with the OS ISO file you just downloaded

Step 3 - Plug in a USB Drive (that you are
...
okay with being wiped in the process)
With Rufus, you will be reformatting a USB drive, meaning all data will be lost. Also, it is reformatting the drive, so it is a bootable. This allows you to select your USB Drive (you'll typically see the brand-name and capacity of your USB drive as a boot option) in your BIOS's list of bootable devices.
- Make sure you have the correct USB drive selected.
- 'Disk or ISO image (Please select)
- Select the Ubuntu ISO file though the pop-up 'browse', mine shows up in 'Downloads' folder.
- Re-name the drive, if you want
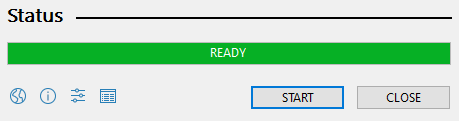
- Hit 'Start', and then 'OK' on the next window.
- Let Rufus download necessary files to continecontinue, and hit 'OK' to acknowledge that all data on your USB drive will be 'DESTROYED'
...
The progress bar will load (takes a couple minutes), and then will be completed once it says 'READY'. At this point, you can remove the USB drive and slap it on the system you want to install Ubuntu 20.04 for, finally.
On your target computer
Step 4 - Make sure system is powered off
...
and plug in the USB drive.
Step 5 -
...
Access boot override menu in BIOS and select the 'UEFI' boot option for your USB drive.
| Expand | ||
|---|---|---|
| ||
|


Step 6 - 'Install Ubuntu Server' and let it load for 2 minutes up to the language selection screen.
| Expand | ||
|---|---|---|
| ||
This takes about 2 minues
|


